


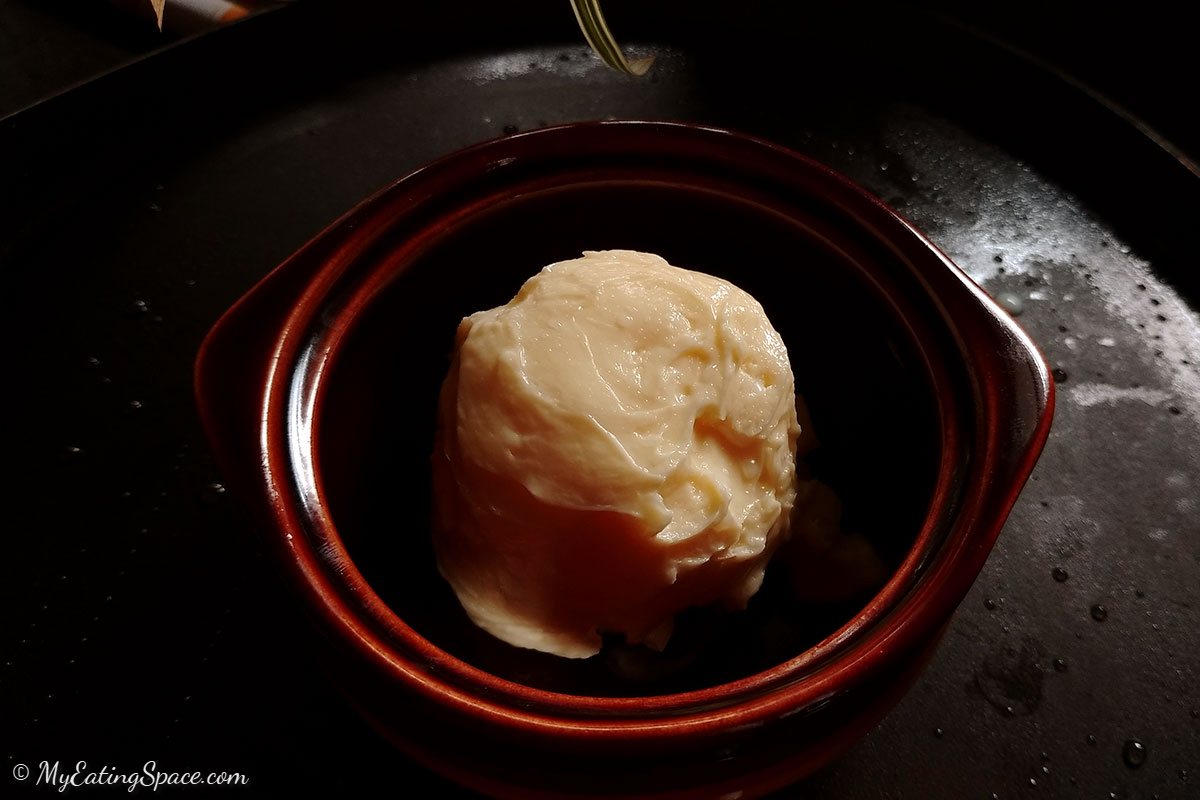
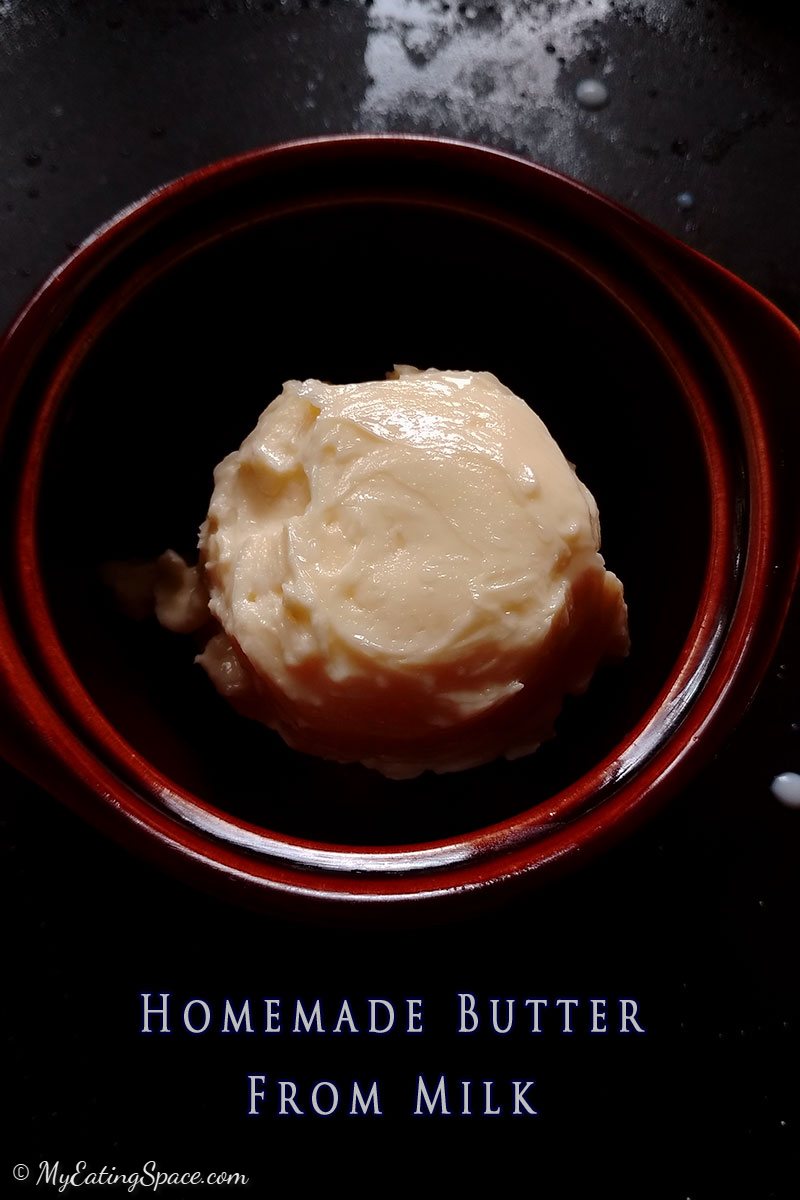
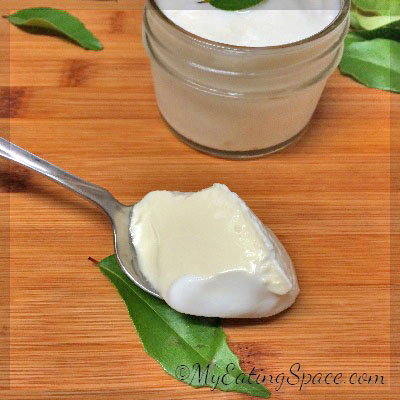
We are going to make milk butter at home today. The ingredient you need to make this recipe is just milk. You can use this butter for anything from baking to spreading on a bread justlike how you use a store-bought one. And I assure you once you get it right, you will never feel like buying those blocks of butter.
Making butter at home doesn’t always mean it is cheaper. Making butter on your own is all about the palate, the taste of homemade. I don’t remember buying butter during the childhood days. Amma always made her own butter. In fact, not only amma, during those period no one used to buy butter. Everyone used to make it at home by churning the milk with a ladle like wooden churn. Every kitchen had the woodern churning whisk. Then it got replaced by a mixer grinder.
We are going to separate the cream from the milk. This collected cream should always be kept in the freezer. Otherwise, the butter will get spoiled very easily and will have a slight bitter taste sometimes. Then with a mixer grinder, we will make butter from the cream collected. The process needs some patience as you have to collect the cream for 2-3 weeks.
Homemade Milk Butter from Milk Using a Mixer Grinder

Homemade Milk Butter In a Mixer Grinder
Ingredients
- 2 cups of Cream
- Cold Water
Instructions
- The first step is to collect the cream from full fat milk. For this, boil the milk. Let it cool. You can see a layer of cream on top of the milk once it is cooled.
- Collect this cream. Keep it an air-tight container and store it in a freezer. Repeat the process for 2-3 weeks until you have 2 cups of cream.
- Transfer this to a mixer grinder. Let it sit for 30 minutes at room temperature. Now run the mixer/blender at the slowest speed. Stop at intervals if it has any ice blocks.
- Again run the blender on low speed. After 10 minutes, you can see that the cream reaches a whipped cream consistency.
- Continue the churning. Within 1-2 minutes, the butter and liquid will separate.
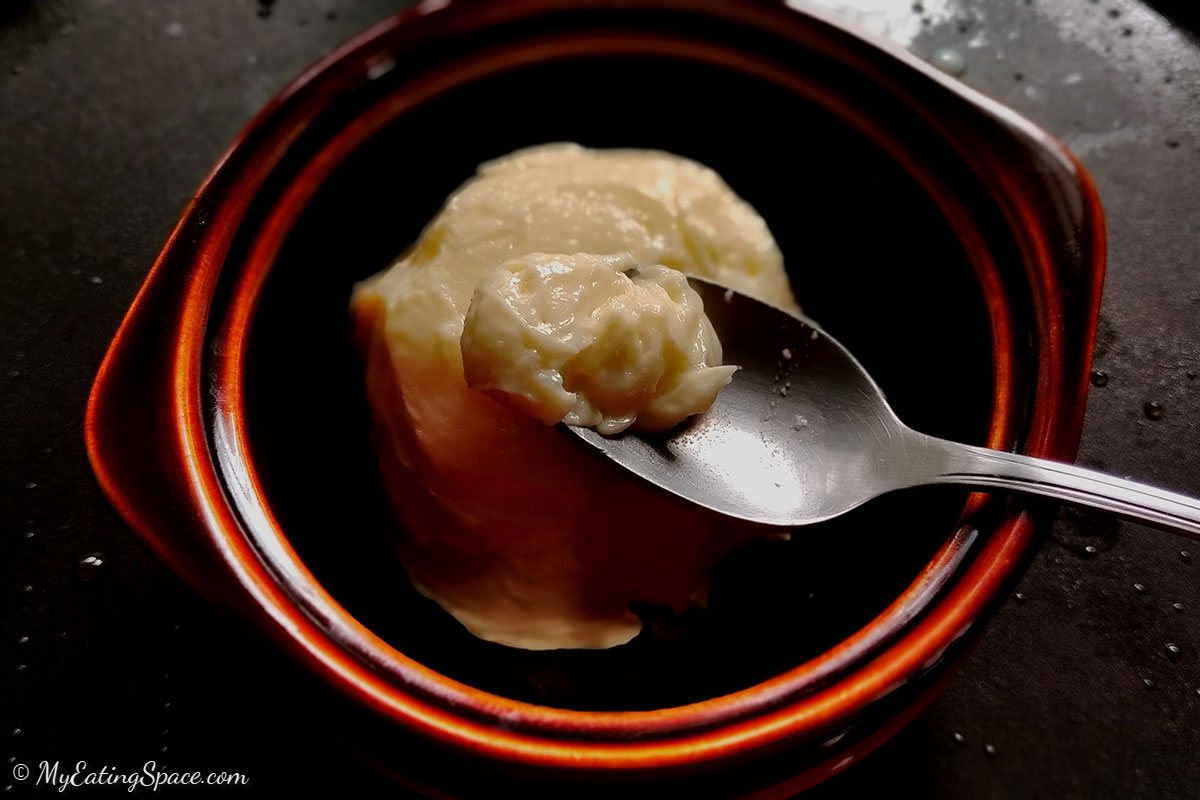
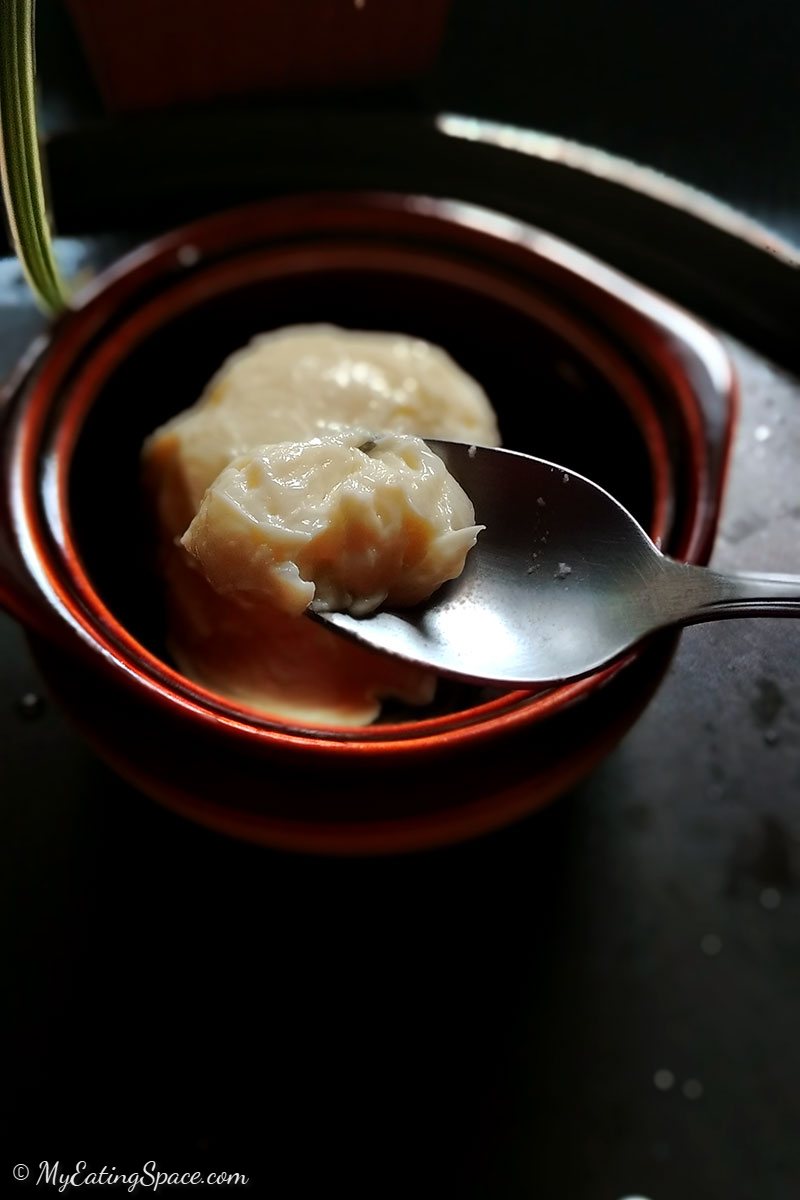
- Stop the blender. Collect the butter on the top of the liquid. You can use a ladle. But I collect them with my hands. Place them in a bowl of cold water.
- Now wash the butter in cold water bu gently kneading it. Drain the water. Repeat this until the water is clear.
- Now remove the butter from water. Place it in an air-tight container. Keep refrigerated.
Notes
From this butter, you can make ghee also known as clarified butter. See how to make clarified butter in the video recipe below.
Homemade ghee from butter
So everyone should try to make butter at home at least once. This is not a difficult task. Every household will have milk, the only ingredient to make butter. The equipment needed is a mixer grinder or a blender which is also there in every kitchen. So no special quipment, no fancy ingredients, no cooking experience – just make it. Now-a-days, butter has become a taboo food, but in moderation will be good. So try to make this natural healthy fat at home.
Happy Cooking

 |
 |
 |
 |
| Tempered Spicy Yogurt | Homemade Paneer | Peda Recipe |


